Introduction to taking screenshots of PC games
Screenshots are a great way to capture moments in video games that you want to remember, share with friends, or post on social media. They can be used to show off your achievements, document your progress in a game, or simply capture beautiful or funny moments that you come across while playing.
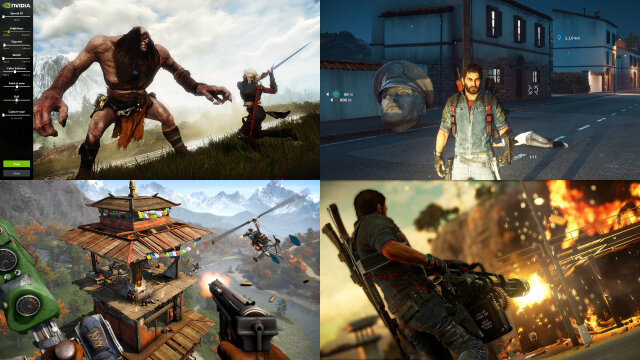
Taking screenshots of PC games is easy and can be done in a variety of ways. In this article, we’ll explore the different methods for taking game screenshots and provide some tips for getting the best results.
Understanding the different methods for taking game screenshots
There are several ways to take screenshots of PC games. The most basic method is to use the built-in screenshot function of the game itself, if it has one. Many modern games include this feature, which allows you to capture screenshots by pressing a specific key or button.
Another method is to use third-party software designed specifically for taking screenshots. These programs offer more control over the process and can often capture higher-quality images than the in-game function.
Finally, you can also use the Print Screen button on your keyboard to take a screenshot of your entire desktop, including any game that you have open. However, this method is not recommended for capturing high-quality images, as it may result in lower resolution or distorted images.
Using in-game screenshot functions
As mentioned, many modern games include a built-in screenshot function that allows you to capture images with just the press of a button. The exact method for taking screenshots will vary depending on the game, but it is often as simple as pressing a specific key or button.
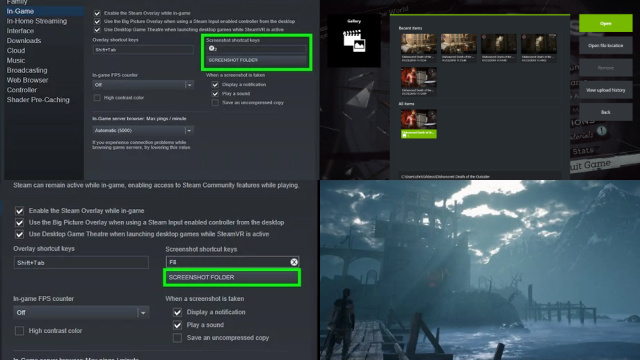
Once you’ve taken a screenshot, it will usually be saved to a specific folder on your computer. You can then access the folder to view or edit the images, or share them with others.
Taking screenshots with third-party software
If your game does not have a built-in screenshot function, or if you want more control over the process, you can use third-party software to capture screenshots. There are many programs available for this purpose, both free and paid, that offer a range of features and capabilities.
Some popular options include Fraps, OBS Studio, and Greenshot. These programs allow you to customize the screenshot settings, such as the image format and quality, and may also offer options for recording video or audio.
To use third-party software, you will need to install the program on your computer and configure the settings according to your preferences. Once you’ve set up the software, you can use it to take screenshots while playing games or performing other activities on your computer.
Setting up and customizing your screenshot settings
Once you have decided on the method for taking game screenshots that works best for you, it’s time to customize your settings to get the perfect shot every time.
Most games come with built-in screenshot settings that allow you to adjust the resolution, quality, and format of your screenshots. You can usually access these settings by going into the game’s options menu and finding the “screenshots” or “video” tab.
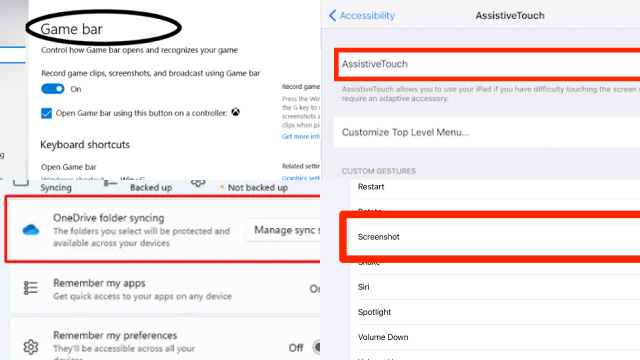
If you are using third-party software to take screenshots, you may need to adjust the settings in the software itself. Some popular screenshot software options include FRAPS, NVIDIA ShadowPlay, and OBS Studio. These programs offer a variety of customization options, including the ability to adjust the resolution, frame rate, and file format of your screenshots.
Regardless of which method you use, it’s important to experiment with your settings to find what works best for you. Try adjusting the resolution and quality to find the right balance between image clarity and file size. You may also want to consider using different file formats depending on what you plan to do with your screenshots later on. For example, if you plan to upload your screenshots to social media, you may want to use a file format that is compatible with those platforms, such as JPEG or PNG.
Managing and organizing your game screenshots
Once you have taken your game screenshots, it’s important to have a system in place for organizing and managing them. This will make it easier to find the screenshots you need later on, as well as keep your hard drive from becoming cluttered with unnecessary files.
One option for managing your game screenshots is to create a separate folder for them on your computer. You can then sort the screenshots into subfolders based on the game they were taken in, the date they were taken, or any other system that works for you.
Another option is to use a screenshot management program, such as Lightroom or Adobe Bridge. These programs allow you to tag and categorize your screenshots, making it easy to find them later on.
Editing and sharing your game screenshots
Once you have taken and organized your game screenshots, you may want to edit them before sharing them with others. This can help you enhance the image quality and create a more visually appealing screenshot.
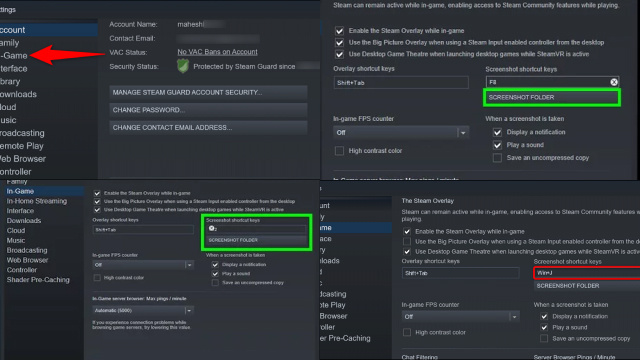
There are a variety of photo editing software options available, including free programs such as GIMP and Paint.NET, as well as paid options such as Adobe Photoshop. These programs allow you to adjust the brightness, contrast, and color balance of your screenshots, as well as crop and resize them as needed.
When it comes to sharing your game screenshots, there are many options available. You can upload them to social media platforms such as Facebook, Twitter, or Instagram, or you can share them on gaming forums or websites. Some games also have built-in sharing options that allow you to upload your screenshots directly from the game client.
How to Showcase Your Game Screenshots: Tips for Captivating Displays
Showcasing your game screenshots effectively can help you share your gaming experiences, build an online presence, or even promote your game. Here are some tips for creating captivating displays:
Select Your Best Shots: Choose the most visually stunning and intriguing screenshots that represent your gaming moments or your game if you’re a developer.
Resolution and Quality: Ensure your screenshots are of high resolution and quality. Crisp, clear images make a better impression.
Composition: Pay attention to composition, framing, and visual storytelling. Use the rule of thirds to create balanced and visually appealing screenshots.
Lighting and Effects: Utilize in-game lighting, filters, and effects to enhance the visual appeal of your screenshots.
Consistency: If you’re showcasing multiple screenshots, maintain a consistent style or theme for a polished display.
Image Editing: Edit your screenshots if necessary. Adjust brightness, contrast, and colors to make them more appealing.
Capture Action: Showcase dynamic moments in your game to create excitement and intrigue.
Share on Social Media: Utilize gaming communities and social media platforms to reach a wider audience.
Give Context: Provide a brief description or backstory for your screenshots to engage viewers.
Watermarking: Consider adding a subtle watermark to protect your images if you’re concerned about unauthorized use.
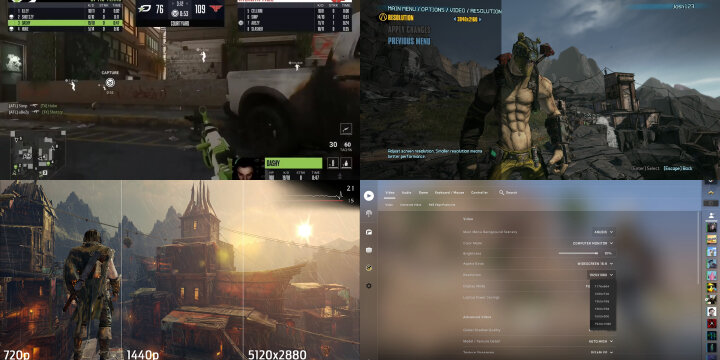
By following these tips, you can create captivating displays that effectively showcase your game screenshots and leave a lasting impression on your audience.
Conclusion and final thoughts on taking game screenshots
Taking screenshots of your favorite PC games can be a fun and rewarding hobby, and there are many different methods and tools available to help you get the perfect shot. Whether you prefer to use in-game screenshot functions or third-party software, it’s important to take the time to experiment with your settings and find what works best for you.
By managing and organizing your game screenshots, you can ensure that they are easy to find and use later on. And by editing and sharing your screenshots, you can create a visually stunning record of your gaming experiences that you can share with others.
Overall, taking game screenshots is a great way to enhance your gaming experience and capture some truly amazing moments. So why not give it a try and see what kind of shots you


