Understanding Guided Access on iOS Devices
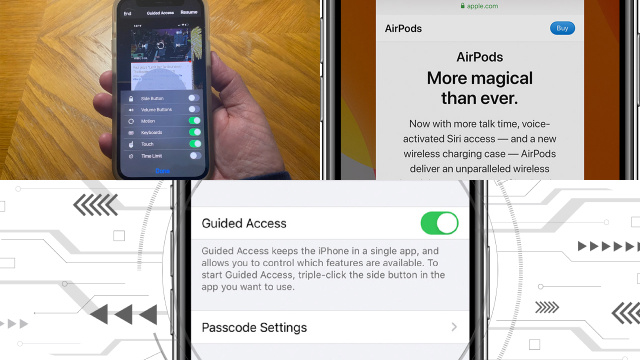
Guided Access is a powerful feature available on iOS devices that allows users to restrict the functionality of their device to a single app, making it ideal for scenarios like educational settings or when sharing devices with others. By enabling Guided Access, you can limit access to specific areas of the screen, disable touch gestures, and even control physical buttons.
To activate Guided Access, go to Settings, then Accessibility, and select Guided Access. Once enabled, simply triple-press the Home or Side button (depending on the device model) within the desired app to start the Guided Access session.

Guided Access provides an extra layer of control and focus, preventing accidental app switching or unauthorized access to other device features. To exit Guided Access, you can either enter the passcode set during setup or use alternative methods like Siri or AssistiveTouch.
By understanding Guided Access and its capabilities, you can effectively manage and customize your iOS device’s functionality to suit specific needs and situations.
The Importance of Knowing How to Exit Guided Access
While Guided Access on iOS devices provides a valuable tool for restricting app access and controlling device functionality, knowing how to exit Guided Access is equally important. Being unaware of the exit methods can lead to frustration and limitations if you unintentionally get locked within a Guided Access session.
Having the knowledge to exit Guided Access allows you to regain full control of your device and access other apps and features. It is particularly crucial in situations where you no longer need the restrictions or when you encounter issues with the Guided Access settings.
By understanding the exit methods, such as using the passcode, utilizing Siri, or leveraging AssistiveTouch, you can easily exit Guided Access and resume normal device usage. This knowledge ensures a smooth and hassle-free experience, providing you with the flexibility to adapt your device’s restrictions according to your needs and preferences.
Method 1: Using the Passcode to Exit Guided Access
If you have enabled Guided Access on your iOS device and wish to exit the session, using the passcode is the simplest and most direct method. Here’s how:
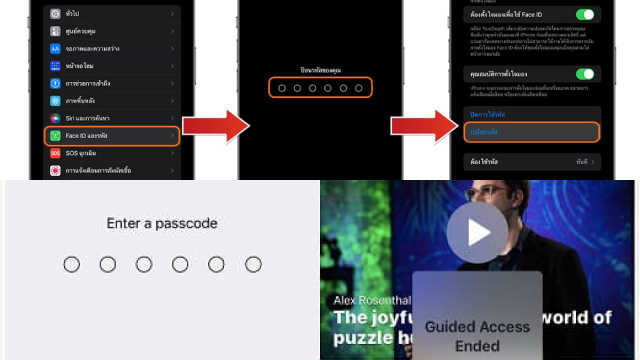
- Triple-press the Home or Side button (depending on the device model) to bring up the Guided Access passcode screen.
- Enter the passcode you set when initially configuring Guided Access.
- After entering the correct passcode, Guided Access will be disabled, and you will regain access to the full functionality of your device.

Remember to keep your passcode secure and confidential to prevent unauthorized exit from Guided Access. This method is ideal when you want to exit Guided Access quickly and efficiently without any additional steps or settings adjustments. By knowing this method, you can confidently use Guided Access and exit the session whenever needed.
Method 2: Exiting Guided Access Using Siri
If you prefer a hands-free approach to exit Guided Access on your iOS device, you can utilize Siri. Here’s how:
- Invoke Siri by either saying “Hey Siri” (if enabled) or pressing and holding the Home or Side button, depending on your device model.
- Once Siri is active, simply say, “Turn off Guided Access.”
- Siri will recognize your command and disable Guided Access, allowing you to exit the restricted session.
Using Siri to exit Guided Access provides a convenient and voice-activated method, especially when your hands are occupied or you prefer a hands-free experience. Just ensure that Siri is enabled on your device and that you have a stable internet connection for Siri to process your command accurately. With this method, you can seamlessly exit Guided Access and resume normal device usage with ease.
Method 3: Exiting Guided Access with AssistiveTouch
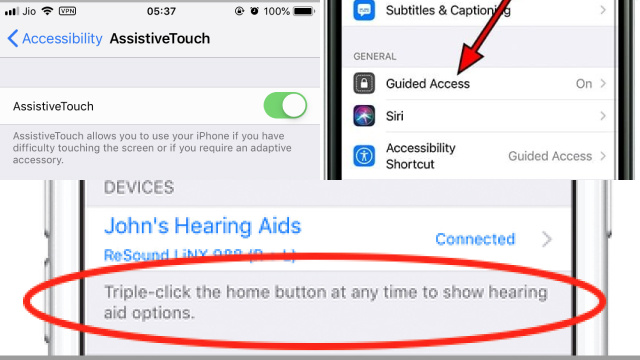
For those who have enabled AssistiveTouch on their iOS device, using this accessibility feature provides an alternative way to exit Guided Access. Follow these steps:
- Tap the AssistiveTouch floating icon on your screen to access the AssistiveTouch menu.
- From the menu, tap “Device.”
- Next, tap “More” and then select “Guided Access.”
- Finally, tap “End” to exit the Guided Access session.

By leveraging AssistiveTouch, you can exit Guided Access without the need for physical buttons or voice commands. This method is particularly useful for individuals with physical disabilities or those who find it more convenient to use on-screen touch controls. Whether you’re utilizing AssistiveTouch for accessibility purposes or simply prefer its functionality, this method allows you to exit Guided Access smoothly and efficiently.
Troubleshooting: What to Do If You Forget the Guided Access Passcode
Forgetting the Guided Access passcode on your iOS device can be a frustrating situation. However, there are a few steps you can take to regain access:
- Restart your device: Sometimes a simple restart can resolve minor issues. Power off your device and then turn it back on to see if it clears the Guided Access passcode.
- Use iCloud: If you have enabled iCloud backup on your device, you can restore it to a previous backup that doesn’t have Guided Access enabled. Keep in mind that this will remove any data or settings changes made since the backup was created.
- Contact Apple Support: If the above methods don’t work, reach out to Apple Support for further assistance. They have the expertise to guide you through the process of removing the Guided Access passcode.
Remember to keep your passcodes secure and note them down in a safe place to prevent future inconvenience.
Tips and Tricks for a Smooth Guided Access Experience
- Set up a memorable passcode: Choose a passcode for Guided Access that you can easily remember but is not easily guessable by others. Avoid using common sequences or personal information.
- Practice entering and exiting Guided Access: Familiarize yourself with the process of entering and exiting Guided Access before using it in important situations. This will help you navigate smoothly and efficiently.
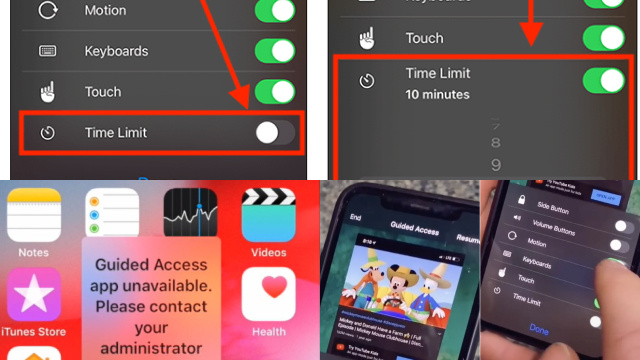
- Utilize time limits: To ensure you don’t stay locked in Guided Access unintentionally, consider setting up time limits. This will automatically exit Guided Access after a specified duration, allowing you to regain full device functionality.
- Customize accessibility shortcuts: Take advantage of accessibility shortcuts to quickly enable or disable Guided Access. You can customize these shortcuts in the Accessibility settings to suit your needs and preferences.
- Keep your device updated: Regularly update your iOS device to the latest software version. Updates often include bug fixes and improvements that can enhance the overall Guided Access experience.

By following these tips and tricks, you can optimize your Guided Access usage, ensuring a seamless and hassle-free experience while using your iOS device in restricted mode.
Exploring Alternatives to Guided Access for Device Restriction and Accessibility
While Guided Access is a powerful feature for device restriction and accessibility on iOS, there are alternative options available that offer similar functionality. Here are a few alternatives worth considering:
- Parental Control Apps: There are various third-party parental control apps available that provide comprehensive device restriction features. These apps allow you to set screen time limits, block specific apps or websites, and customize content filters.
- Accessibility Settings: iOS devices offer a wide range of built-in accessibility settings that can help achieve similar results as Guided Access. Features like Screen Time, Restrictions, and Content & Privacy Restrictions can be utilized to limit access to certain apps or content.
- App-specific Restrictions: Some apps have their own built-in restriction features that allow you to control access to specific content or features within the app. This can be particularly useful for apps that are frequently used by children or for specific purposes.
Exploring these alternatives will help you find the right solution that meets your specific needs for device restriction and accessibility beyond Guided Access.


